How to set up a Shopify store
Why Shopify?
You’ve got an innovative new product idea…now you need to set up your online store so your customers can find you and you can start selling! Shopify is a great choice and it’s one of the most robust eCommerce platforms you can be on today. In about 20 minutes, you can set up a Shopify store, no coding or web development experience required. Bonus: the ability to scale your product line as you grow.
In this article, we’ll show you how, from the first time you sign in to launching your brand new site.
Fast facts
Powers: 800,000+ merchants
Subscription fee: $29 USD per month for Basic Shopify (best for new businesses)
1. Sign up
Go to Shopify’s website and click the Start free trial button. You’ll be taken to a page where you’ll fill in your email address, and create a password and a name for your store. When complete, click the Create your store button.
On the next page, you’ll answer a couple of questions about your business. If you’re setting up a store for a client, click the checkbox beside “Yes, I’m designing/developing a store for a client.”
Enter your business address on the next form, then click the Enter my store button.
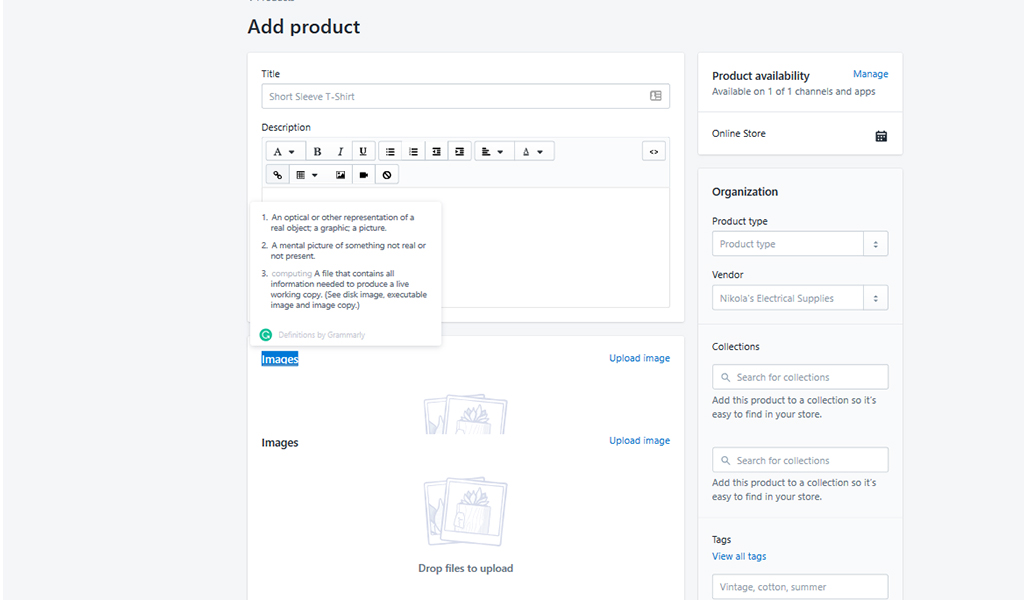
2. Add your products
Shopify provides a smooth on-boarding process that gets you ready to sell online. Try their suggested tips to get started, including adding products. These can be “physical items, digital downloads, services, or anything else you dream up,” says the description. Fill in product title and description, availability, pricing, and other information. You’ll also fill in inventory and shipping information here. Don’t forget to save your product.
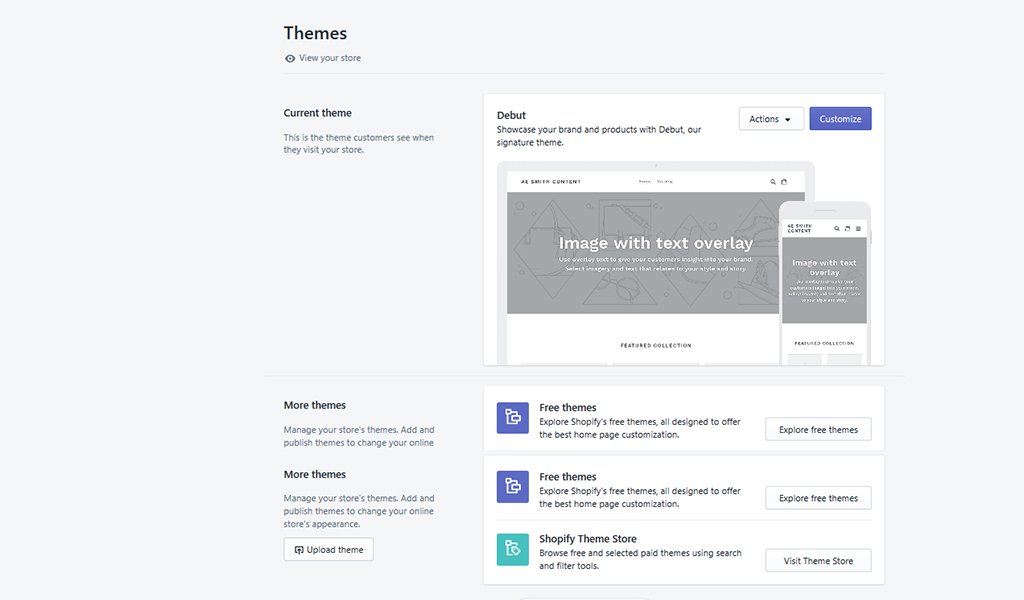
3. Choose a theme
Back in your main dashboard (click Home in the menu on the left to get there), hit the Customize theme button to visit the Themes page, where you can explore Shopify’s free themes and browse the Theme Store, which offers free and paid themes. You can also upload a theme’s .zip file here. Press the Customize button and you’ll be able to edit each section of your theme, from the header to the footer. No need to worry about photos; you’ll have your choice of several categories of free images – everything from Women’s and Men’s Fashion to Nature, Accessories & Jewelry, Work & Productivity and many more.
Tip: You can also get to the Themes section by going to the Sales Channels menu and choosing Themes.
4. Add blog posts and pages
Under Sales Channels, you can add Blog posts and Pages. While blog posts are a great way to build your community, pages with clear titles and descriptions improve your SEO (search engine optimization) help customers find your site.

5. Buy your domain
Now that you’ve added your product(s), chosen a theme and done some customization, it’s time to choose your domain before officially launching your site. Back to the dashboard again. Your current domain is whatever domain name you chose back when you signed up, but here you can add a custom domain to strengthen your brand and help customers find your store.
Click the Add domain button and decide whether to:
- connect an existing domain
- transfer a domain
- buy a new domain
- If you choose the last option, click the Buy new domain button, choose the domain you want and follow the steps to buy it. Then choose your Shopify payment plan.
- Once you’re activated, visit your domain to see your website.
6. Select a payment processor
In your dashboard, click Settings at the bottom left of your screen, then Payment providers. Here you can decide which payment providers (e.g. Shopify Payments or a third-party credit card provider such as Authorize.net, Moneris or others) you want to use so you can accept credit cards, PayPal, and other payment methods when your customers check out.
Once you follow the steps and choose a payment processor, you’ll be able to put payments in an account.
7. Other settings
Other items under your Settings let you customize your checkout process, view your invoices, manage how you ship orders to customers, charge taxes and much more.
When you’re done setting up, click the Launch website button and your store will be live. That’s all there is to it – your Shopify store is open!
Wrapping up
You’ve set up your first Shopify store and learned how to add products, chosen a theme, added blog posts and pages, bought your domain and chosen a payment processor. Next, soak up all the knowledge you can about how to keep it profitable and avoid making mistakes. Website Builder Expert also has an updated Shopify Review for 2019 that explores pros and cons, ease of use and more.
If you have any questions, Shopify has a great Help Center and Introduction guide. Looking for tips on email marketing, product photography, shipping and fulfillment and more? Visit shopify.ca/guides.